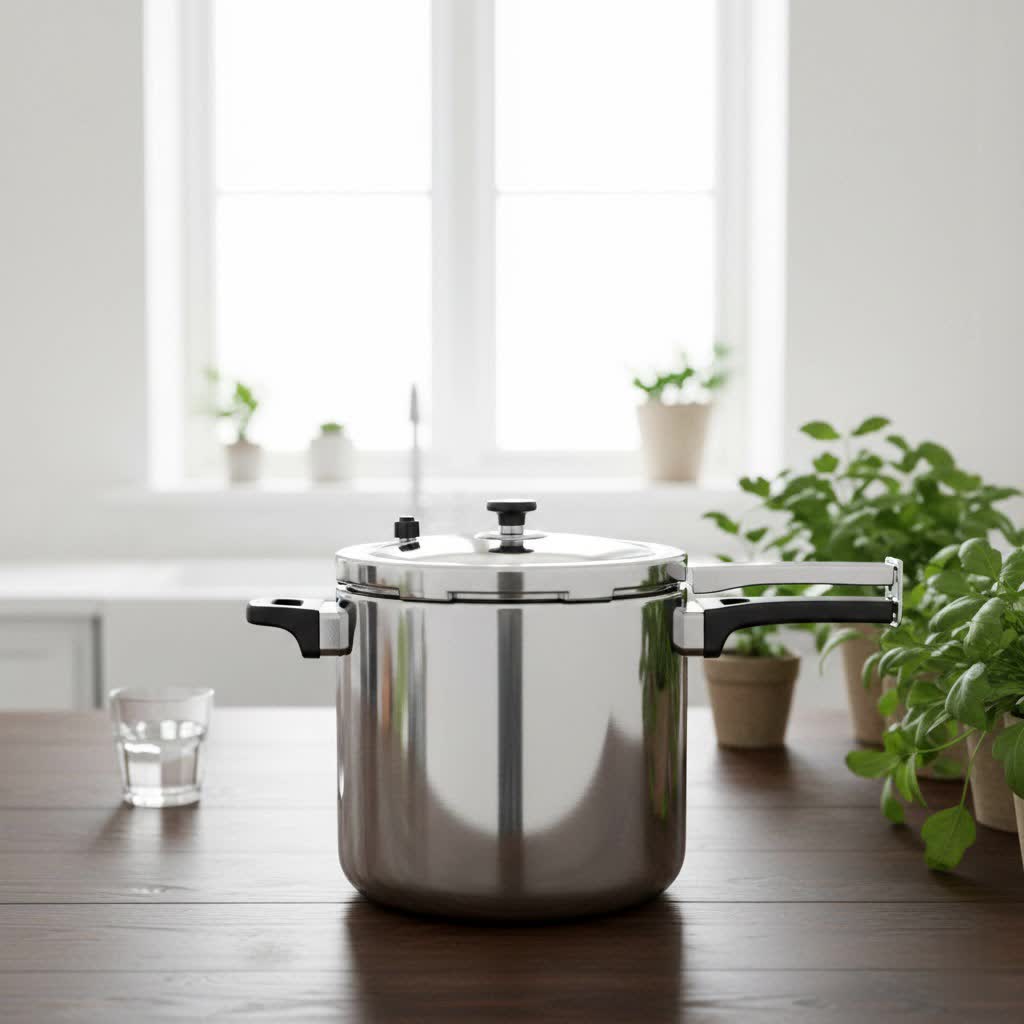
Have you ever wished for perfectly fluffy white rice without the constant vigilance of stovetop cooking? Modern pressure cookers, especially electric models, have revolutionized rice preparation, transforming a sometimes finicky process into a hands-off dream. Forget burnt bottoms or gummy textures; with the right technique, your pressure cooker can consistently deliver tender, separated grains every single time. This comprehensive guide will walk you through everything you need to know, from selecting the right rice to troubleshooting common issues, ensuring your pressure cooker becomes your go-to for immaculate white rice.
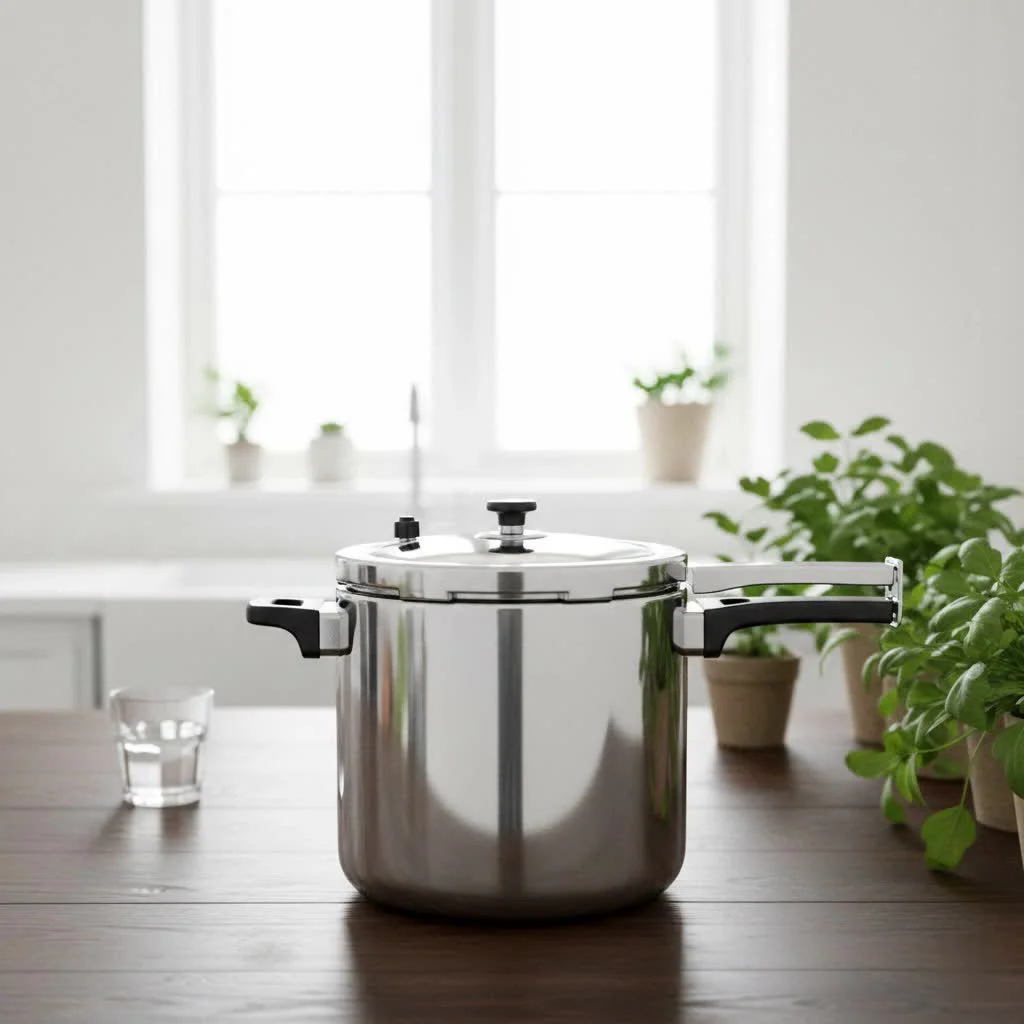
What is a Pressure Cooker, and Why Use it for Rice?
A pressure cooker is a sealed pot that cooks food faster than conventional methods by raising the boiling point of water and trapping steam, thereby increasing pressure inside. While stovetop pressure cookers offer robust performance, electric models like the Instant Pot provide unparalleled convenience with built-in timers and safety features.
Using a pressure cooker for rice offers several compelling benefits:
- Speed: White rice cooks significantly faster under pressure, often in just 3-4 minutes of active cooking time, plus pressurizing and depressurizing.
- Consistency: The sealed environment minimizes evaporation, leading to more predictable and consistent results with less guesswork than traditional methods.
- Hands-Off Convenience: Once set, the pressure cooker does all the work, freeing you to focus on the rest of your meal without worrying about boiling over or scorching.
- Perfect Texture: The controlled cooking environment helps produce rice with a desirable fluffy texture, where each grain is distinct and tender.
Essential Criteria for Perfect Pressure Cooker White Rice
Achieving ideal results hinges on understanding a few key elements:
- Rice Types: This method works exceptionally well for most long-grain white rice varieties, including jasmine and basmati. These types naturally yield fluffier, less sticky results compared to medium or short-grain rice, which contain more starch.
- Water-to-Rice Ratio: This is perhaps the most crucial factor. Because a pressure cooker loses very little liquid to evaporation, you need significantly less water than for stovetop cooking. A general guideline is a 1:1 ratio (1 cup of rice to 1 cup of water) for many types of white rice to achieve a fluffy texture. Some prefer a slightly higher ratio, such as 1:1.25 (1 cup rice to 1 ¼ cups water), which can result in slightly softer rice. Experiment to find your preferred consistency.
- Rinsing: Rinsing white rice under cold running water until the water runs clear is highly recommended. This process removes excess starch from the surface of the grains, which is key to preventing sticky or gummy rice. However, it’s worth noting that some “enriched” white rice varieties (common in the U.S.) are fortified with nutrients that can be washed away during rinsing. If you prioritize these added nutrients, you might choose to skip rinsing.
- Salt: Adding a pinch of salt (about ½ teaspoon per 1-2 cups of rice) is optional but greatly enhances the flavor of your cooked rice. You can also use low-sodium chicken or vegetable broth instead of water for an extra layer of taste.
Step-by-Step Guide: How to Cook White Rice in Your Pressure Cooker
|
Our Picks for the Best Pressure Cooker in 2026
As an Amazon Associate I earn from qualifying purchases.
|
||
| Num | Product | Action |
|---|---|---|
| 1 | Instant Pot Duo 7-in-1 Electric Pressure Cooker, Slow Cooker, Rice, Steamer, Sauté, Yogurt Maker, Warmer & Sterilizer, Includes App With Over 800 Recipes, Stainless Steel, 6 Quart |

|
| 2 | Instant Pot Duo 7-in-1 Electric Pressure Cooker, Slow Cooker, Rice Cooker, Steamer, Sauté, Yogurt Maker, Warmer & Sterilizer, Includes App with Over 800 Recipes, Stainless Steel, 8 Quart |
|
| 3 | Fullwill 9-in-1 Electric Pressure Cooker(2025 Upgraded), 12 Presets Instant Multi Cooker, Olla de Presion Nonstick Pot 6 Quarts |
|
| 4 | 18/8 Stainless Steel Pressure Cooker 8 Qt, [One-Hand Locking] Pressure Cooker,[3-In-1] Olla de Presion, Induction,Gas Stovetop Compatible, Includes Glass Lid & Steamer Rack |
|
| 5 | Presto 01362 6-Quart Stainless Steel Pressure Cooker |
|
| 6 | Instant Pot Duo 7-in-1 Mini Electric Pressure Cooker, Slow Rice Cooker, Steamer, Sauté, Yogurt Maker, Warmer & Sterilizer, Includes Free App with over 1900 Recipes, Stainless Steel, 3 Quart |
|
| 7 | Barton Pressure Canner Release Valve Aluminum Canning Pot Cooker Pot Stove Top Instant Fast Cooking Pot Stewing Locking System (8 Quarts) |
|
| 8 | COSORI Pressure Cooker 6QT, Stainless Steel, 9-in-1 Multi Cooker, 12 Safety Features, Ceramic Inner Pot, Rice, Slow Cook, Sous Vide, Saute, 1100W |
|
| 9 | Presto 01264 6-Quart Aluminum Pressure Cooker, Silver |
|
| 10 | 3-In-1 Stainless Steel Pressure Cooker 8 QT: [Save 70% Time] [3 PSI Settings], One-Hand Locking, Induction Compatible, Glass Lid & Steamer Rack Included, Olla de Presion |
|
This method is designed for electric pressure cookers like the Instant Pot.
-
Preparation:
- Measure your desired amount of white rice. For a 6-quart pressure cooker, 2 cups of dry rice is a common amount, yielding about 6 cups cooked. You can scale down to 1 cup or up to 4 cups in a 6-quart, or even 6 cups in an 8-quart, using the same water-to-rice ratio.
- If rinsing, place the rice in a fine-mesh strainer and rinse under cold running water, gently swirling with your fingers, until the water runs clear. Drain thoroughly.
- Add the rinsed (or unrinsed) rice to the inner pot of your pressure cooker.
- Add water according to your chosen ratio (e.g., 2 cups rice to 2 cups water, or 2 cups rice to 2.5 cups water).
- Add salt, if desired, and stir to ensure the rice is evenly distributed and submerged.
-
Pressure Cooking:
- Secure the lid on your pressure cooker and ensure the steam release valve is set to the “Sealing” position.
- Select the “Pressure Cook” or “Manual” setting on High Pressure.
- Set the cooking time for 3 to 4 minutes. (Many find 3 minutes sufficient for long-grain varieties, while 4 minutes can yield slightly firmer results).
- The pressure cooker will take some time (usually 5-10 minutes, depending on volume) to come to pressure before the countdown begins.
-
Pressure Release:
- Once the cooking time is complete, allow the pressure to Natural Release (NPR) for 10 to 15 minutes. This crucial step allows the rice to continue steaming and absorb remaining moisture, leading to a perfectly fluffy texture and preventing scorching.
- After 10-15 minutes, carefully move the steam release valve to the “Venting” position to perform a Quick Release (QR) of any remaining pressure. Once the float valve drops, it’s safe to open the lid.
-
Fluff and Serve:
- Open the lid away from your face to avoid residual steam.
- Use a fork or rice paddle to gently fluff the rice. This separates the grains and releases any trapped steam.
- Serve immediately, or keep covered on the “Keep Warm” setting (though turning it off after natural release can prevent overcooking the bottom layer if left for extended periods).
Troubleshooting Common Pressure Cooker Rice Issues
Even with a reliable method, occasional issues can arise. Here’s how to address them:
- Mushy Rice: This typically indicates too much water or too long a cooking time.
- Solution: Reduce the water-to-rice ratio slightly for your next batch (e.g., from 1:1.25 to 1:1), or decrease the high-pressure cooking time by 1 minute. Ensure you’re allowing adequate natural release time, as this helps the rice absorb remaining moisture.
- Crunchy/Undercooked Rice: Often a sign of insufficient water, not enough cooking time, or a poor seal.
- Solution: Double-check your water-to-rice ratio. Ensure your pressure cooker lid is properly sealed and the valve is set to “Sealing.” If you live at high altitude (above 3,000-5,000 feet), you may need to add 1 minute to the cooking time.
- Sticky/Gummy Rice: Usually due to excess starch or too much moisture.
- Solution: Thoroughly rinse your rice before cooking. Ensure you’re performing a natural release for at least 10 minutes. If still sticky, after fluffing, you can lay a clean kitchen cloth over the pot for 5-10 minutes (with the lid returned) to absorb extra moisture. Adding a tablespoon of oil or butter during cooking can also help prevent grains from sticking.
- “Burn” Notice: This error occurs when there isn’t enough liquid in the pot, causing food to stick to the bottom.
- Solution: Ensure you’re using the correct water ratio and that all ingredients are scraped from the bottom before cooking. A slight adjustment to the water-to-rice ratio may be needed if you consistently encounter this.
Tips for the Fluffiest White Rice Every Time
Achieving restaurant-quality fluffy rice in your pressure cooker is totally within reach with these additional tips:
- Accurate Measurement is Key: Use consistent measuring cups for both rice and water. Precision matters more in a pressure cooker due to minimal evaporation.
- Don’t Skip the Natural Release: This phase is vital for the rice to finish cooking gently and absorb steam, leading to a tender, separated grain texture.
- Fluff Immediately: As soon as you open the lid, gently fluff the rice with a fork or rice paddle. This releases steam and prevents the rice from clumping.
- Add Flavor Boosters: For more flavorful rice, consider cooking it in low-sodium chicken or vegetable broth instead of plain water. You can also add a pat of butter or a swirl of olive oil to the pot before cooking for richness and to help prevent sticking.
- Rest Time: If time allows, after fluffing, you can place a clean kitchen towel over the pot and replace the lid, letting the rice rest for another 5-10 minutes. The towel absorbs any residual moisture, making the rice even fluffier.
Buying Guide: Choosing the Right Pressure Cooker for Rice
While most modern electric pressure cookers can handle rice beautifully, consider these features:
- Capacity: A 6-quart model is versatile for most families, comfortably cooking 2-4 cups of dry rice. Larger 8-quart models are great for bigger batches.
- “Manual” or “Pressure Cook” Setting: Look for a model that allows you to manually set high pressure and time. While many have a “Rice” preset, manual control often yields superior results.
- Inner Pot Material: Stainless steel inner pots are durable and non-reactive, though some prefer ceramic non-stick for easier cleanup.
Buying Guide: Lời Khuyên Khi Chọn Mua Nồi Áp Suất
- Identify Your Needs: Consider how much rice you’ll typically cook and how often. This will guide your decision on capacity and whether an electric or stovetop model suits you best.
- Research Product Information: Always read product descriptions and specifications. Pay attention to safety features, available settings, and material quality.
- Consult User Reviews: Real-world feedback from other users can provide invaluable insights into a model’s performance, durability, and any common quirks, especially regarding rice cooking.
- Compare Prices and Features: Shop around to compare models across different retailers. Balance cost with the features important to you, like specific cook times or ease of cleaning.
- Prioritize Warranty and Support: Choose a pressure cooker from a brand known for good customer service and a reliable warranty. This ensures support if you encounter any issues.
Conclusion
Cooking white rice in a pressure cooker is a game-changer for anyone seeking efficiency, consistency, and perfectly fluffy results. By understanding the ideal water-to-rice ratios, precise cooking times, and the importance of natural release, you can confidently prepare a staple that complements countless meals. It’s a method that promises to save you time and deliver delicious rice, transforming your kitchen routine.
So, are you ready to unlock the secret to effortless, impeccably cooked white rice with your pressure cooker?
Frequently Asked Questions
Can I use the “Rice” button on my Instant Pot for white rice?
While your Instant Pot has a “Rice” button, it typically cooks at low pressure for a longer duration (around 12 minutes). For best results with fluffy white rice, most experts recommend using the “Pressure Cook” or “Manual” setting on high pressure for 3-4 minutes, followed by a natural release.
Do I need to add oil to prevent sticking?
Adding a tablespoon of oil or butter to your pressure cooker along with the rice and water can help prevent foaming and sticking, especially when cooking larger batches. It also adds a subtle richness to the rice.
Can I double or triple the recipe for pressure cooker white rice?
Yes, you can easily double or triple the recipe in your pressure cooker without adjusting the cooking time, as long as you maintain the correct water-to-rice ratio and do not exceed the maximum fill lines (usually half full for rice and grains). The pressure cooker will simply take longer to come to pressure.
Why is my pressure cooker rice crunchy?
Crunchy rice in a pressure cooker often means it was undercooked. This can be due to not enough water, too short a cooking time, or the pressure cooker not sealing properly. Try adding another minute to the cooking time or ensuring your lid and valve are correctly positioned for a good seal.
Cooking gear we tested in our own kitchens
Free PDF — preheat times measured on 10 popular air fryers.
