Few things capture the essence of summer like biting into a sweet, juicy ear of corn on the cob. While traditional methods like boiling or grilling are time-honored, the pressure cooker offers a revolutionary way to achieve perfectly cooked corn with unparalleled speed and flavor. If you’re looking for a quick, efficient, and delicious method to prepare this beloved vegetable, your pressure cooker is about to become your new best friend. This guide will walk you through everything you need to know, from selecting the best corn to mastering the cooking process, ensuring every bite is a burst of golden sweetness.
Why Pressure Cook Corn on the Cob?
The beauty of cooking corn on the cob in a pressure cooker lies in its efficiency and the quality of the result. Unlike boiling, which can sometimes water down the corn’s natural sugars and nutrients, pressure cooking uses steam to rapidly cook the kernels, locking in moisture and intensifying their sweet flavor. This method drastically cuts down cooking time, turning fresh or even frozen ears into tender perfection in mere minutes. It’s ideal for busy weeknights, large gatherings, or whenever you crave that irresistible summer staple without the wait. The high-pressure environment ensures even cooking, resulting in consistently plump, juicy kernels that are both firm and tender to the bite.
Choosing Your Corn: Fresh, Frozen, Shucked, or Unshucked?
The quality of your corn significantly impacts the final dish. Here’s how to choose and prepare it:
- Fresh Corn: Look for ears with bright green husks that are tightly wrapped, and silks that are slightly damp and sticky. Avoid dry, black, or moldy silks. Fresh corn on the cob is ideal for pressure cooking, offering the best flavor and texture.
- Frozen Corn: Don’t hesitate to use frozen corn on the cob when fresh isn’t available. It’s a convenient option that still yields excellent results in the pressure cooker. You won’t need to thaw it beforehand, just adjust the cooking time slightly.
- Shucked vs. Unshucked: While most recipes call for shucked corn (husks and silk removed), you can cook unshucked corn in a pressure cooker. This method can add a subtle steamed flavor and makes shucking easier after cooking, as the heat helps release the silks. However, it requires a slightly longer cooking time.
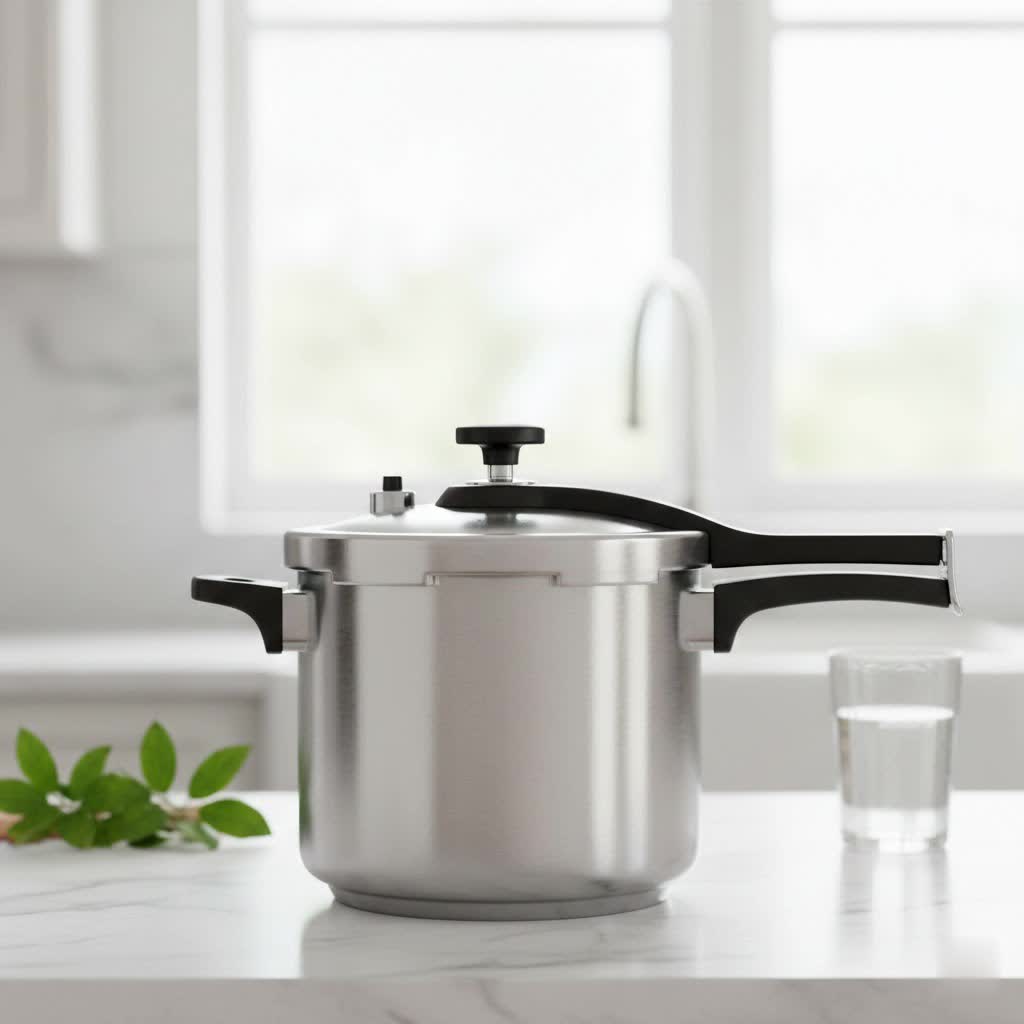
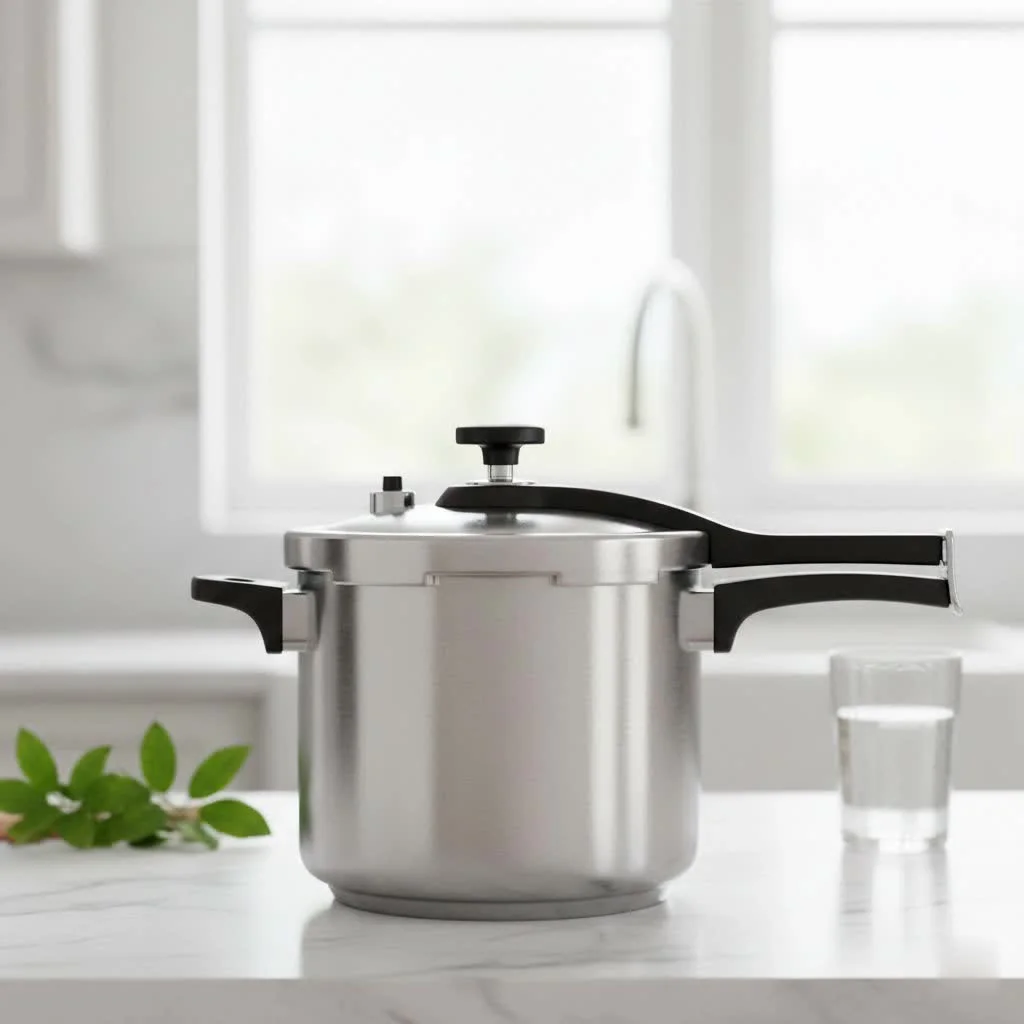
Essential Equipment for Pressure Cooker Corn
To achieve optimal results, you’ll need a few basic items:
- Electric Pressure Cooker: Any brand of electric pressure cooker, such as an Instant Pot, will work.
- Trivet or Steamer Basket: This is crucial for keeping the corn elevated above the cooking liquid, ensuring it steams rather than boils. Most pressure cookers come with a metal trivet.
- Water: You’ll need a small amount of water to create the steam necessary for pressure cooking.
Step-by-Step Guide to Perfect Pressure Cooker Corn
|
Our Picks for the Best Pressure Cooker in 2026
As an Amazon Associate I earn from qualifying purchases.
|
||
| Num | Product | Action |
|---|---|---|
| 1 | Instant Pot Duo 7-in-1 Electric Pressure Cooker, Slow Cooker, Rice Cooker, Steamer, Sauté, Yogurt Maker, Warmer & Sterilizer, Includes App with Over 800 Recipes, Stainless Steel, 8 Quart |

|
| 2 | Fullwill 9-in-1 Electric Pressure Cooker(2025 Upgraded), 12 Presets Instant Multi Cooker, Olla de Presion Nonstick Pot 6 Quarts |
|
| 3 | Presto 01264 6-Quart Aluminum Pressure Cooker, Silver |
|
| 4 | COSORI Pressure Cooker 6QT, Stainless Steel, 9-in-1 Multi Cooker, 12 Safety Features, Ceramic Inner Pot, Rice, Slow Cook, Sous Vide, Saute, 1100W |
|
| 5 | Instant Pot Duo 7-in-1 Electric Pressure Cooker, Slow Cooker, Rice, Steamer, Sauté, Yogurt Maker, Warmer & Sterilizer, Includes App With Over 800 Recipes, Stainless Steel, 6 Quart |
|
| 6 | Instant Pot Duo 7-in-1 Mini Electric Pressure Cooker, Slow Rice Cooker, Steamer, Sauté, Yogurt Maker, Warmer & Sterilizer, Includes Free App with over 1900 Recipes, Stainless Steel, 3 Quart |
|
| 7 | Barton Pressure Canner Release Valve Aluminum Canning Pot Cooker Pot Stove Top Instant Fast Cooking Pot Stewing Locking System (8 Quarts) |
|
| 8 | Presto 01362 6-Quart Stainless Steel Pressure Cooker |
|
| 9 | 18/8 Stainless Steel Pressure Cooker 8 Qt, [One-Hand Locking] Pressure Cooker,[3-In-1] Olla de Presion, Induction,Gas Stovetop Compatible, Includes Glass Lid & Steamer Rack |
|
| 10 | 3-In-1 Stainless Steel Pressure Cooker 8 QT: [Save 70% Time] [3 PSI Settings], One-Hand Locking, Induction Compatible, Glass Lid & Steamer Rack Included, Olla de Presion |
|
Follow these simple steps for perfectly cooked corn on the cob every time:
- Prepare the Corn:
- Fresh Shucked Corn: Remove the husks and silk from each ear. If the ears are too long to fit horizontally in your pressure cooker, you can cut them in half.
- Frozen Corn: No special preparation needed, simply place frozen ears directly into the pot.
- Unshucked Corn: Place the whole ears, husks and all, into the pot. You may trim the ends if desired.
- Add Liquid: Pour 1 to 2 cups of water into the inner pot of your pressure cooker. The exact amount may vary slightly depending on your pressure cooker’s size (e.g., 2 cups for an 8-quart model, 1.5 cups for a 6-quart).
- Place Trivet and Corn: Insert the trivet or steamer basket into the pot. Arrange the corn cobs on top of the trivet. You can stack them crisscross if needed, ensuring they fit below the maximum fill line.
- Seal and Cook:
- Secure the lid on your pressure cooker and set the steam release valve to the “sealing” position.
- Cooking Time:
- Fresh Shucked Corn: Pressure cook on high for 2-3 minutes. Use 2 minutes for a firmer bite, or 3 minutes for slightly softer corn.
- Frozen Corn: Pressure cook on high for 3 minutes.
- Unshucked Corn: Pressure cook on high for 4 minutes.
- Once the cooking cycle is complete, the pressure cooker will beep.
- Release Pressure:
- Quick Release (QR): Immediately turn the steam release valve to the “venting” position to quickly release the pressure. This is generally recommended to prevent overcooking and maintain the corn’s crisp texture.
- Some recipes suggest a 1-minute Natural Release (NR) followed by a Quick Release.
- Serve: Once all the pressure has been released and the float valve drops, carefully open the lid. Use tongs to remove the hot corn. Serve immediately with your favorite toppings like butter, salt, pepper, or a sprinkle of herbs.
Tips for the Best Pressure Cooker Corn on the Cob
To elevate your corn on the cob experience, consider these expert tips:
- Don’t Overcrowd: While you can stack corn, avoid packing the pot too tightly, as this can hinder even cooking.
- Add Flavor to Water: For an extra touch of flavor, you can add a pinch of salt or a tablespoon of butter to the water before cooking. Some even place butter cubes directly on top of the corn.
- For Freezing: If you plan to freeze cooked corn, an ice bath is essential. After cooking, immediately transfer the corn to a large bowl of ice water for about 5 minutes to stop the cooking process. Husk and let it air dry completely before freezing.
- Cut in Half: If serving to children or for easier handling, cutting the ears in half before cooking is a great idea.
Troubleshooting Common Issues
Even with a simple dish like corn on the cob, minor issues can arise:
- Overcooked/Mushy Corn: This usually happens if the cooking time is too long or the pressure release is too slow. Aim for 2-3 minutes for fresh corn and use a quick release.
- Undercooked/Hard Kernels: If your corn is still firm, it might need another minute or two under pressure. Ensure your pressure cooker reached full pressure.
- Too Much Water: While not usually an issue for the corn itself (as it’s on a trivet), excess water can prolong the time it takes for the pressure cooker to come to pressure. Stick to the recommended 1-2 cups.
Pressure Cooker Corn vs. Other Methods
While every cooking method has its charm, the pressure cooker offers distinct advantages:
- Boiling: Traditional boiling can leach nutrients and flavor into the water, and often takes 7-10 minutes.
- Grilling: Grilling imparts a smoky flavor, but requires more active attention and can lead to uneven cooking if not managed carefully.
- Steaming (Stovetop): Stovetop steaming is healthy but takes longer than pressure cooking, typically 10-15 minutes.
The pressure cooker method combines the health benefits of steaming with incredible speed, making it a standout choice for corn on the cob.
Buying Guide: What to Look for When Choosing a Pressure Cooker
If you’re new to pressure cooking, selecting the right appliance can make a big difference. Consider these factors:
- Capacity: Choose a size that fits your family’s needs. A 6-quart model is standard for most families, while 8-quart or larger is better for big gatherings.
- Features: Look for models with easy-to-use controls, various cooking presets, and robust safety features like automatic pressure release valves and lid locks.
- Brand Reputation: Well-known brands often offer better reliability and customer support.
- Reviews: Read user reviews to gauge performance and common issues.
“Pressure cooking isn’t just about speed; it’s about optimizing flavor and nutrient retention, especially for vegetables like corn. The intense steam environment seals in the natural sweetness beautifully.” – Chef Elena Rodriguez, Culinary Instructor & Pressure Cooking Expert
Conclusion
Cooking corn on the cob in a pressure cooker is a game-changer, offering a quick, flavorful, and incredibly easy way to enjoy this summer favorite. By following these simple steps and tips, you can consistently achieve perfectly tender and sweet kernels that rival any other cooking method. Whether you’re a seasoned pressure cooker enthusiast or a curious beginner, this technique is sure to become a staple in your kitchen. So, fire up your pressure cooker and get ready to experience corn on the cob like never before! What’s your favorite topping to slather on a freshly cooked ear of corn?
Frequently Asked Questions
Can I cook different amounts of corn on the cob at once in a pressure cooker?
Yes, you can cook multiple ears of corn at once, as long as they fit below the maximum fill line and don’t overcrowd the pot. The cooking time remains the same regardless of the quantity.
Do I need a trivet to cook corn on the cob in a pressure cooker?
While a trivet is highly recommended to elevate the corn above the water for steaming, you can cook corn without one by adding the ears directly to the water. However, using a trivet ensures better steaming and prevents the corn from sitting in the water, which can make it less crisp.
How do I store leftover pressure cooker corn on the cob?
Once cooled, store leftover corn on the cob in an airtight container in the refrigerator for up to 3-5 days. For longer storage, you can freeze individual ears after cooling them completely.
Can I add butter and seasonings before pressure cooking?
You can add a small amount of butter and salt to the water or directly on top of the corn before cooking. This can infuse extra flavor. However, most prefer to add generous toppings after cooking for maximum freshness and taste.
What if my corn on the cob is very large or very small? Should I adjust the cooking time?
For most standard sizes, the 2-3 minute cooking time for fresh corn works well. For exceptionally large or very dense ears, you might add an extra minute. Conversely, very small or tender “baby” corn might be done in just 1-2 minutes.
Cooking gear we tested in our own kitchens
Free PDF — preheat times measured on 10 popular air fryers.
I gave this a try with my new Ninja Foodi. While it was definitely quick, I felt like the corn was a little too soft for my preference, even after reducing the cooking time slightly. It’s not bad, but I still prefer a bit more bite. Maybe I need to experiment with the release method more.
I tried the pressure cooker method for corn on the cob after reading this. It was super fast, which is great when you’re in a hurry. My only minor complaint is that I had to adjust the cooking time a bit for my older model pressure cooker to get it just right, but once I did, it was perfect. Still way better than boiling.
Wow, I’m so glad I found this! I always thought grilling was the best, but the pressure cooker really locks in that natural sweetness. I followed the steps exactly, and the corn came out incredibly tender and flavorful. My family devoured it. This is a game-changer for our summer dinners.
I used to dread making corn on the cob because it took so long, but this guide totally changed my mind! The tip about selecting fresh corn made a huge difference, and my Instant Pot had it ready in minutes. It was so sweet and juicy, just like the post promised. Definitely my new go-to method for summer.