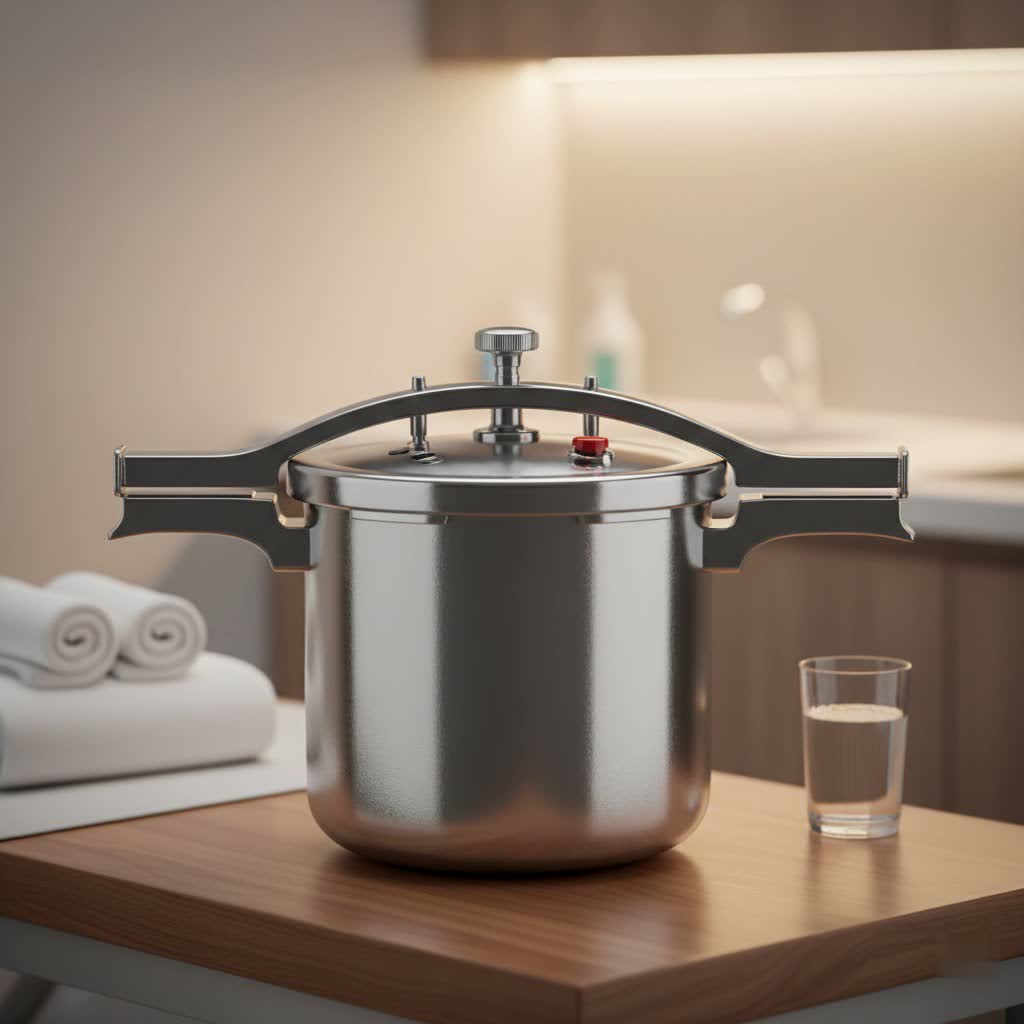
Pinto beans are a culinary cornerstone, cherished for their creamy texture and earthy flavor, forming the base of countless comforting dishes. While traditional stovetop methods can demand hours of simmering and foresight for soaking, the modern pressure cooker transforms this lengthy process into a quick, hands-off affair. If you’re tired of long cooking times or reaching for canned beans, embracing your pressure cooker is a game-changer for achieving tender, delicious pinto beans with unparalleled ease. This guide will walk you through everything you need to know to master pinto beans in your pressure cooker, from understanding its benefits to foolproof cooking methods and versatile recipe ideas.
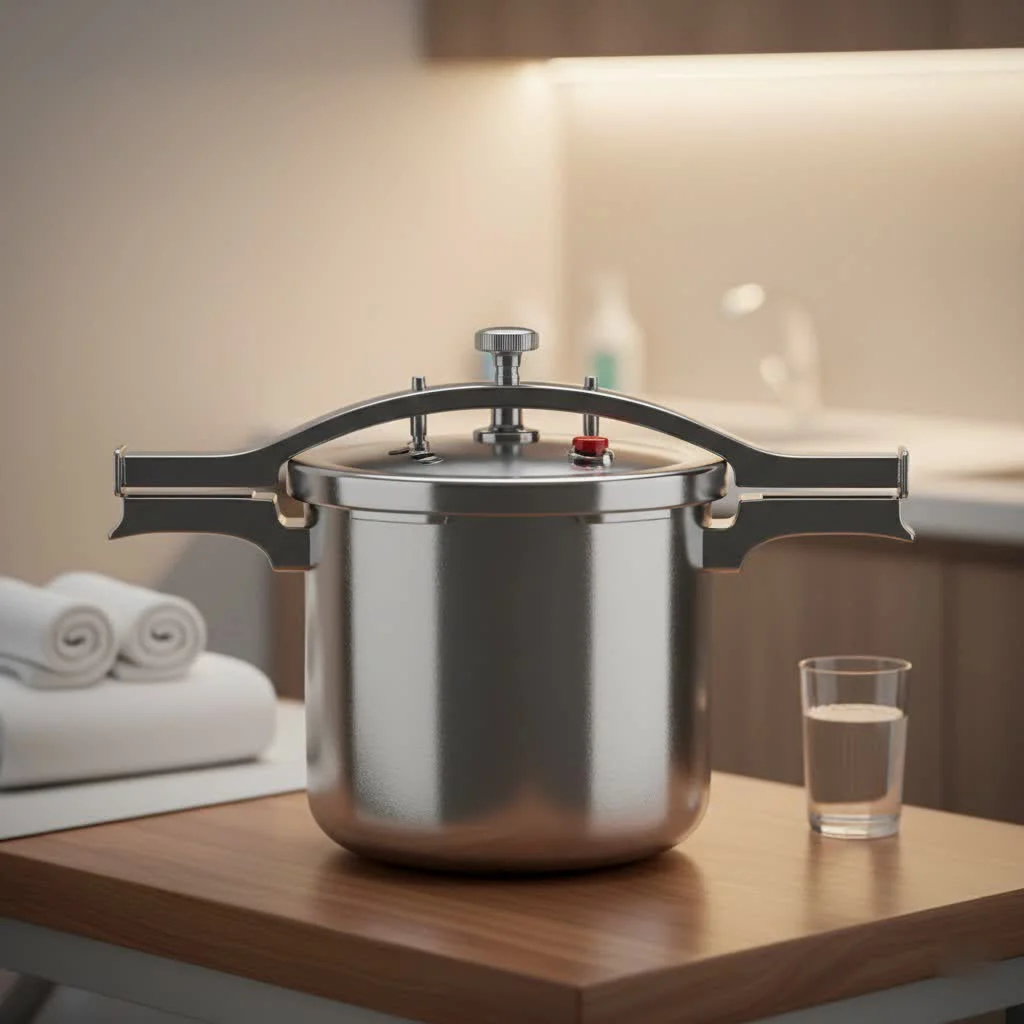
Pinto Beans in a Pressure Cooker: Why It’s a Game-Changer
Pressure cookers have revolutionized the way we approach cooking, especially for ingredients like dried beans that typically require extensive preparation. By creating a high-pressure, high-temperature environment, these kitchen workhorses dramatically cut down on cooking times while locking in flavor and nutrients.
What Are Pressure Cookers and Why Use Them for Pinto Beans?
A pressure cooker is essentially a sealed pot that cooks food faster by utilizing steam pressure. This elevated pressure raises the boiling point of water, allowing food to cook at a higher temperature than traditional methods. For pinto beans, this means transforming hard, dry legumes into tender, creamy perfection in a fraction of the time.
The benefits extend far beyond just speed:
- Time-Saving: The most obvious advantage is the significant reduction in cooking time. What once took hours on the stovetop can now be achieved in under an hour, or even less if you choose to soak your beans. This is a huge win for busy weeknights or when you forget to plan ahead.
- No Soaking Required: For many, the biggest appeal of pressure cooking beans is the elimination of the overnight soak. You can go from dried beans to cooked beans without any pre-planning, which is incredibly convenient.
- Enhanced Flavor & Texture: Pressure-cooked pinto beans often boast a superior flavor and creamier texture compared to their stovetop counterparts or, heaven forbid, canned varieties. The intense heat and pressure break down the beans more thoroughly, yielding a rich, satisfying result.
- Nutrient Retention: Due to the shorter cooking duration, pressure cooking can help preserve more of the heat-sensitive vitamins and minerals in beans that might otherwise degrade during prolonged simmering.
- Energy Efficiency: By dramatically reducing cooking time, pressure cookers also use less energy, making them an eco-friendly and cost-effective cooking method in the long run.
Electric vs. Stovetop Pressure Cookers for Beans
|
Our Picks for the Best Pressure Cooker in 2026
As an Amazon Associate I earn from qualifying purchases.
|
||
| Num | Product | Action |
|---|---|---|
| 1 | 18/8 Stainless Steel Pressure Cooker 8 Qt, [One-Hand Locking] Pressure Cooker,[3-In-1] Olla de Presion, Induction,Gas Stovetop Compatible, Includes Glass Lid & Steamer Rack |
![Check 18/8 Stainless Steel Pressure Cooker 8 Qt, [One-Hand Locking] Pressure Cooker,[3-In-1] Olla de Presion, Induction,Gas Stovetop Compatible, Includes Glass Lid & Steamer Rack on Amazon](https://reviewmylp.com/wp-content/plugins/amazon-tables/assets/images/buy.png)
|
| 2 | Instant Pot Duo 7-in-1 Electric Pressure Cooker, Slow Cooker, Rice Cooker, Steamer, Sauté, Yogurt Maker, Warmer & Sterilizer, Includes App with Over 800 Recipes, Stainless Steel, 8 Quart |
|
| 3 | Fullwill 9-in-1 Electric Pressure Cooker(2025 Upgraded), 12 Presets Instant Multi Cooker, Olla de Presion Nonstick Pot 6 Quarts |
|
| 4 | Barton Pressure Canner Release Valve Aluminum Canning Pot Cooker Pot Stove Top Instant Fast Cooking Pot Stewing Locking System (8 Quarts) |
|
| 5 | COSORI Pressure Cooker 6QT, Stainless Steel, 9-in-1 Multi Cooker, 12 Safety Features, Ceramic Inner Pot, Rice, Slow Cook, Sous Vide, Saute, 1100W |
|
| 6 | Instant Pot Duo 7-in-1 Mini Electric Pressure Cooker, Slow Rice Cooker, Steamer, Sauté, Yogurt Maker, Warmer & Sterilizer, Includes Free App with over 1900 Recipes, Stainless Steel, 3 Quart |
|
| 7 | Instant Pot Duo 7-in-1 Electric Pressure Cooker, Slow Cooker, Rice, Steamer, Sauté, Yogurt Maker, Warmer & Sterilizer, Includes App With Over 800 Recipes, Stainless Steel, 6 Quart |
|
| 8 | 3-In-1 Stainless Steel Pressure Cooker 8 QT: [Save 70% Time] [3 PSI Settings], One-Hand Locking, Induction Compatible, Glass Lid & Steamer Rack Included, Olla de Presion |
|
| 9 | Presto 01264 6-Quart Aluminum Pressure Cooker, Silver |
|
| 10 | Presto 01362 6-Quart Stainless Steel Pressure Cooker |
|
Both electric and stovetop pressure cookers are excellent for cooking pinto beans, each with its own set of advantages.
- Electric Pressure Cookers (e.g., Instant Pot): These are perhaps the most popular choice for beans due to their “set it and forget it” convenience. They feature built-in safety mechanisms, precise temperature control, and often include multiple functions like sautéing, slow cooking, and even yogurt making. Their automation makes them ideal for hands-off bean cooking.
- Stovetop Pressure Cookers: These traditional models typically reach higher pressures and temperatures, often leading to slightly faster cooking times than electric models. They require more active monitoring to regulate heat and pressure, but many experienced cooks appreciate their direct control and robust performance.
While this guide will lean towards the electric pressure cooker’s versatility, the core principles of cooking pinto beans under pressure apply to both types.
Getting Started: Preparing Your Pinto Beans
Before you dive into pressure cooking, a few simple preparatory steps will ensure your pinto beans turn out perfectly every time.
Rinsing and Sorting: The Essential First Step
Even though dried beans come pre-packaged, it’s crucial to give them a thorough inspection and rinse. Spread your dry pinto beans out on a light-colored surface, like a baking sheet or clean kitchen towel. Carefully pick through them, removing any small stones, broken bean pieces, or other debris that might have snuck into the bag. Once sorted, place the beans in a colander and rinse them well under cold running water until the water runs clear. This step ensures cleanliness and helps remove any surface starches.
To Soak or Not to Soak: Demystifying the Debate
The question of whether to soak beans before cooking is a long-standing culinary debate, especially when using a pressure cooker. The good news is, with a pressure cooker, soaking your pinto beans is entirely optional.
- Benefits of No Soaking: The primary benefit is pure convenience. You don’t need to plan hours or a day ahead, allowing for spontaneous bean cooking. Your pressure cooker is powerful enough to tenderize dry beans efficiently without a pre-soak.
- Benefits of Soaking (Optional): While not strictly necessary, soaking does offer some advantages:
- Reduced Cooking Time: Soaked beans will cook significantly faster in the pressure cooker, often cutting the time in half.
- More Even Cooking: Some cooks find that soaking leads to a more uniform texture and fewer split skins.
- Potential Digestibility: Many believe soaking helps remove some of the indigestible oligosaccharides, the complex sugars responsible for gas and bloating. While scientific evidence is mixed, if you’re sensitive to beans, soaking might be worth trying.
If you choose to soak, an overnight soak (8-12 hours) is ideal. Simply place rinsed beans in a large bowl, cover with several inches of cold water, and let them sit. Drain and rinse thoroughly before cooking. For a quick soak method, place rinsed beans in a pot, cover with water, bring to a boil for 5 minutes, remove from heat, cover, and let stand for 1 hour. Then drain and rinse.
Ultimately, the choice is yours. Both methods yield delicious results in a pressure cooker.
How to Cook Pinto Beans in Your Pressure Cooker
Cooking pinto beans in a pressure cooker is straightforward, but a few key details can elevate your results from good to exceptional.
The Perfect Ratio: Beans to Water
Achieving the right liquid-to-bean ratio is crucial for perfectly cooked pinto beans. A good starting point is approximately 6-8 cups of water or broth for every 1 pound (about 2 cups) of dry pinto beans. This ensures the beans are fully submerged with at least 1-2 inches of liquid above them, providing enough moisture for even cooking and creating a flavorful cooking liquid. You can use plain water, chicken broth, or vegetable broth to infuse extra flavor from the start.
Essential Seasonings for Delicious Beans
Seasoning your pinto beans from the beginning allows the flavors to penetrate deep into the beans as they cook. Don’t be shy with your aromatics and spices!
- Salt: This is perhaps the most important seasoning. Add 1-2 teaspoons of fine sea salt per pound of dry beans at the beginning of cooking. Contrary to an old wives’ tale, salt does not prevent beans from becoming tender; in fact, it enhances their flavor significantly. You can always adjust further after cooking.
- Aromatics: Sautéing diced onions and minced garlic in the pressure cooker pot before adding the beans creates a foundational layer of flavor.
- Herbs & Spices: Bay leaves are a classic addition, believed to aid digestion and add a subtle herbaceous note. Cumin, chili powder, and paprika are excellent choices for a Southwestern or Mexican flavor profile. A pinch of dried oregano can also work wonders.
- Flavor Boosters: For richer, more savory beans, consider adding a strip or two of bacon (sautéed first and then crumbled back in), a smoked ham hock, or smoked turkey. These ingredients infuse a wonderful depth of flavor.
- Oil: A tablespoon of olive oil or other neutral cooking oil added to the pot is highly recommended. It helps to reduce foaming during the pressure cooking process, which can prevent messy vents and potential clogs.
Step-by-Step Pressure Cooking Instructions (No-Soak Method)
This is the go-to method for maximum convenience.
- Rinse and Sort Beans: As outlined above, ensure your pinto beans are clean and free of debris.
- Sauté Aromatics (Optional): If using bacon, render it first on the “Sauté” setting of your electric pressure cooker (or in a separate pan for stovetop). Then, sauté diced onions and minced garlic until softened and fragrant.
- Add Ingredients: Add the rinsed, unsalted pinto beans, 6-8 cups of water or broth per pound of beans, salt, a tablespoon of oil, and your chosen seasonings (bay leaves, cumin, chili powder, etc.) to the pressure cooker pot. Stir everything together gently to combine.
- Secure the Lid: Place the lid on your pressure cooker and lock it into place. Ensure the steam release valve is set to the “Sealing” position.
- Set High Pressure:
- Electric Pressure Cooker: Select the “Pressure Cook” or “Manual” setting and set the time for 40-45 minutes on High Pressure. Allow 10-15 minutes for the pot to come to pressure.
- Note on cook times: Some recipes suggest 30 minutes for firmer beans, while others go up to 50 minutes for very soft beans, especially if your beans are older. Adjust based on your preference and the age of your beans.
- Stovetop Pressure Cooker: Bring to high pressure over high heat. Once high pressure is reached, reduce heat to maintain pressure and cook for 35-40 minutes.
- Natural Pressure Release (NPR): Once the cooking cycle is complete, allow the pressure to release naturally for at least 15-20 minutes. This is critical for beans, as a quick release can cause foaming, splitting, and a mushy texture. After 15-20 minutes, if any pressure remains, carefully quick release it by turning the valve to “Venting.”
- Open and Serve: Once the pressure has fully released, open the lid away from your face to avoid residual steam. Stir the beans, taste, and adjust seasonings as needed. If the liquid is too thin, you can simmer on the sauté setting briefly to thicken, or mash some beans against the side of the pot.
Step-by-Step Pressure Cooking Instructions (Soaked Method)
If you’ve opted to soak your beans, the process is even quicker.
- Rinse, Sort, and Soak Beans: Prepare your pinto beans by rinsing, sorting, and soaking them for 8-12 hours (or use the quick soak method). Drain and rinse thoroughly before cooking.
- Add Ingredients: Add the drained, soaked pinto beans, 6-8 cups of fresh water or broth per pound of beans, salt, a tablespoon of oil, and your chosen seasonings to the pressure cooker pot. Stir gently.
- Secure the Lid: Lock the lid into place and ensure the steam release valve is set to “Sealing.”
- Set High Pressure:
- Electric Pressure Cooker: Set to “Pressure Cook” or “Manual” for 15-20 minutes on High Pressure.
- Stovetop Pressure Cooker: Cook at high pressure for 15-20 minutes.
- Natural Pressure Release (NPR): Allow a natural pressure release for 10-15 minutes before quick releasing any remaining pressure.
- Open and Serve: Open the lid, stir, taste, and adjust seasonings.
Troubleshooting Common Pressure Cooker Pinto Bean Issues
Even experienced pressure cooker users can encounter minor hiccups. Here’s how to address some common issues when cooking pinto beans.
Preventing Foaming and Messy Vents
Beans, especially starchy varieties like pintos, can produce foam during cooking, which can sometimes clog the pressure release valve or cause liquid to spurt out during a quick release.
- Natural Release is Key: This is the most effective method. Allowing the pressure to drop slowly and naturally significantly reduces foaming and helps prevent beans from bursting.
- Add Oil: As mentioned, a tablespoon of olive oil or other cooking oil added to the pot acts as a defoamer.
- Don’t Overfill: Always adhere to the maximum fill lines of your pressure cooker. For beans and other frothy foods, the pot should generally not be filled more than halfway.
- Vent Carefully: If you must quick release, do so slowly, or only after a partial natural release (e.g., 10-15 minutes) to allow some of the foam to subside.
Unevenly Cooked or Hard Beans
If your pinto beans aren’t as tender as you’d like, or some remain hard, here are potential culprits:
- Older Beans: Dried beans, especially if they’ve been sitting in your pantry for a long time, can take longer to cook. You may need to increase the cooking time in 5-minute increments.
- Insufficient Water: Ensure the beans were fully submerged in liquid throughout the cooking process. If beans are exposed to air, they won’t cook properly.
- Incorrect Pressure: Make sure your pressure cooker is reaching and maintaining high pressure. Check for any gasket issues or blockages in the valve.
- Altitude: Cooking at higher altitudes requires longer cooking times. You may need to add an extra 5-10 minutes for every 1,000 feet above sea level.
- Adding Acid Too Early: Some sources suggest that adding acidic ingredients like tomatoes, vinegar, or lemon juice at the beginning of cooking can prevent beans from softening. It’s generally best to add these after the beans are tender.
Mushy Beans
While perfectly tender beans are the goal, sometimes they can turn out mushy or overly soft.
- Overcooking: The most common cause is simply cooking them for too long. Next time, reduce the cooking time by 5-10 minutes.
- Quick Release: While convenient, a quick release can sometimes cause beans to burst and become mushier due to the sudden drop in pressure. Using natural pressure release helps maintain their structure.
Maximizing Flavor and Versatility: What to Do with Your Perfect Pinto Beans
Once you’ve cooked a batch of perfectly tender pinto beans, the culinary possibilities are endless!
Classic Recipes and Serving Suggestions
Pinto beans are incredibly versatile and can be used in a myriad of dishes:
- Refried Beans: Easily mash your cooked pinto beans with some of their cooking liquid (and perhaps a little fat like bacon grease or lard) to create homemade refried beans that far surpass canned versions.
- Pinto Beans and Rice: A simple, hearty, and satisfying meal. Serve them over fluffy white or brown rice for a complete protein.
- Tacos, Burritos, Quesadillas: Use them as a flavorful, protein-packed filling.
- Soups and Chilis: Add cooked pinto beans to your favorite chili or soup recipes for added body, texture, and nutrition.
- Salads: Chilled pinto beans can be a fantastic addition to salads, offering fiber and protein.
- As a Side Dish: Serve them simply seasoned alongside grilled meats, cornbread, or other main courses.
- Burrito Bowls: Create your own custom burrito bowls with rice, beans, salsa, avocado, and your favorite toppings.
Storage Tips
Batch cooking pinto beans is a smart strategy for meal prep, and they store wonderfully:
- Refrigeration: Store cooked pinto beans in an airtight container with some of their cooking liquid for up to 5-7 days in the refrigerator. The liquid helps keep them from drying out.
- Freezing: Pinto beans freeze exceptionally well. Portion them into freezer-safe bags or containers with a little liquid. They can be stored in the freezer for 3-6 months. Thaw overnight in the refrigerator or reheat directly from frozen in a pot or microwave.
Buying Guide: Your Checklist for Success
To ensure the best results with your pressure cooker pinto beans, consider these factors:
- Bean Quality: Always start with fresh, high-quality dried pinto beans. Newer beans tend to cook more evenly and quickly than older ones. If you don’t know the age of your beans, err on the side of a longer cooking time.
- Pressure Cooker Type: If you’re buying a new pressure cooker, consider whether an electric multi-cooker (like an Instant Pot) or a stovetop model better suits your cooking style and needs. Both are excellent for beans.
- Read Your Manual: Every pressure cooker is slightly different. Familiarize yourself with your specific model’s instructions, especially regarding fill lines, pressure settings, and release methods.
- Experimentation: Don’t be afraid to experiment with cooking times and seasonings. What makes a bean “perfect” is often a matter of personal preference. Start with recommended times and adjust in small increments for future batches. For example, if you prefer slightly firmer beans for a salad, reduce the cook time by 5 minutes. If you want them extra creamy for refried beans, add 5 minutes.
“Cooking dried beans in a pressure cooker is a revelation. It takes away the intimidation factor and delivers consistently tender, flavorful results without the long wait. It’s a fundamental skill for any home cook looking to save time and enhance their culinary repertoire.” – Chef Maria Rodriguez, Culinary Instructor & Pressure Cooking Enthusiast
Conclusion
Cooking pinto beans in your pressure cooker is truly a kitchen game-changer, offering an effortless path to nutritious, flavorful, and incredibly versatile legumes. Say goodbye to lengthy soaking times and endless simmering. With your pressure cooker, you can achieve perfectly tender pinto beans in a fraction of the time, whether you prefer them unsoaked for spontaneous meals or pre-soaked for even faster cooking. Embrace the convenience, enjoy the rich taste, and discover the endless possibilities these humble beans bring to your table. From hearty side dishes to the foundation of vibrant Mexican-inspired cuisine, your pressure cooker makes adding wholesome pinto beans to your diet easier than ever. What delicious pinto bean dish will you create next?
Frequently Asked Questions
Can I cook frozen pinto beans in a pressure cooker?
While you can technically cook frozen pinto beans, it’s generally recommended to use dried pinto beans for the best texture and flavor in a pressure cooker. If you must use frozen, they will cook much faster than dried and may require less liquid. It’s often better to thaw them first if you want consistent results.
How much salt should I add when cooking pinto beans in a pressure cooker?
A good rule of thumb is to add about 1 to 2 teaspoons of fine sea salt per pound of dry pinto beans at the beginning of the cooking process. This allows the salt to penetrate the beans as they cook, seasoning them from the inside out. You can always adjust the seasoning with more salt after the beans are cooked to your taste.
Do I need to add baking soda when cooking pinto beans in a pressure cooker?
Adding a small amount of baking soda (about 1/4 teaspoon per pound of beans) can sometimes help tenderize older beans or reduce cooking time slightly, especially if you’re soaking them. However, it’s not strictly necessary for most recipes in a pressure cooker and can sometimes affect the bean’s flavor or texture if overused. Many recipes achieve perfect results without it.
Can I use a pressure cooker to make refried beans directly?
You can certainly use your pressure cooker to cook the pinto beans until tender, and then mash them directly in the pot on the “Sauté” setting with some of their cooking liquid and fat (like oil or bacon grease) to make refried beans. This makes the entire process incredibly efficient and convenient, from dry bean to finished refried beans in one pot.
What is the water-to-bean ratio for 1 cup of pinto beans in a pressure cooker?
For approximately 1 cup (about half a pound) of dry pinto beans, you would typically use around 3-4 cups of water or broth. This ensures adequate liquid for cooking and proper pressure building. Always make sure the beans are fully submerged in the liquid.
Cooking gear we tested in our own kitchens
Free PDF — preheat times measured on 10 popular air fryers.
